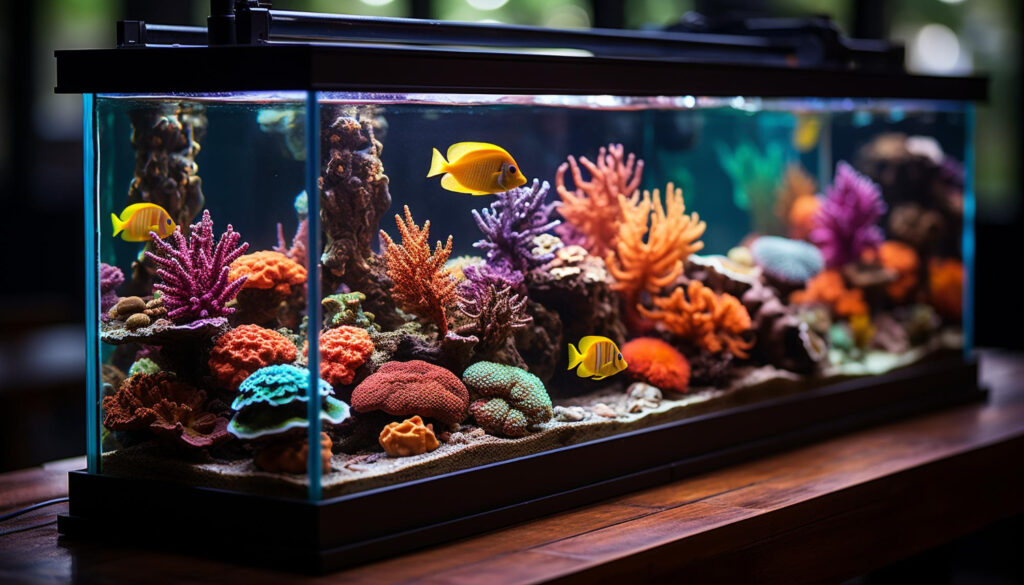
Creating a thriving reef tank can be one of the most rewarding experiences for aquarium hobbyists. A reef aquarium is more than just a decorative display it is a carefully balanced ecosystem that replicates the beauty of the ocean inside your home. Setting up a saltwater aquarium requires patience, planning, and knowledge. In this guide, we’ll take you step by step through the reef tank setup process to ensure your coral reef tank thrives with healthy fish, corals, and invertebrates.
Step 1: Planning Your Reef Tank
Before starting, it’s essential to plan your reef tank setup carefully. Decide whether you want a large system or a smaller nano reef, which is easier to maintain for beginners. Consider the placement of the tank, ensuring it avoids direct sunlight to prevent algae overgrowth. Moreover, think about whether you will incorporate reef tank automation using a reef tank controller or a reef tank app for simplified maintenance.
Step 2: Choosing the Right Equipment
The success of your reef aquarium relies heavily on equipment. You’ll need:
- Protein skimmer – Removes organic waste before it breaks down.
- Live rock – Provides natural biological filtration and serves as the foundation for coral growth.
- Reef tank lighting – Specialized lights are crucial for corals and photosynthetic organisms.
- Reef tank dosing system – Maintains reef tank alkalinity, reef tank calcium, and reef tank magnesium, which are vital for corals.
A heater, powerheads for water flow, and a sump for filtration should also be included. However, ensure you select equipment sized correctly for your aquarium.
Step 3: Setting Up the Tank
Once the equipment is ready, it’s time to assemble your reef tank:
- Rinse the tank and equipment with freshwater.
- Position the live rock to create caves and hiding spots.
- Add live sand or substrate to promote beneficial bacteria.
- Fill the tank with mixed saltwater, ensuring correct salinity.
- Install the protein skimmer, heaters, and pumps.
At this stage, your system must undergo a cycling period, usually lasting 4–6 weeks. During this process, ammonia and nitrites are converted into nitrates, creating a safe environment. This cycling period should never be rushed.
Step 4: Fine-Tuning Water Parameters
Water chemistry is the foundation of a healthy coral reef tank. The parameters must be monitored closely with test kits or digital monitors. Ideal ranges are:
- Reef tank pH: 8.1–8.4
- Reef tank alkalinity: 7–11 dKH
- Reef tank calcium: 400–450 ppm
- Reef tank magnesium: 1250–1350 ppm
Regular testing and adjustments through reef tank dosing are crucial. A reef tank dosing calculator can help determine the exact amounts of supplements needed. Therefore, consistency in dosing will greatly enhance reef tank stability.
Step 5: Introducing Livestock
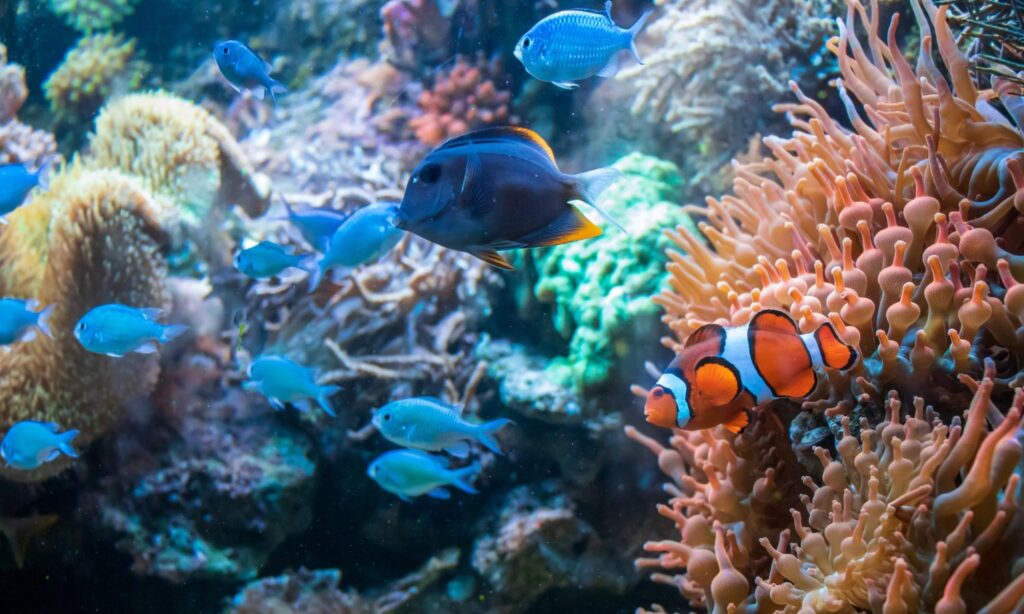
After the cycle is complete, you can slowly introduce fish, corals, and invertebrates. Start with hardy species before moving on to delicate corals. Quarantine new arrivals when possible to prevent disease. It is often recommended that livestock be added gradually to maintain balance.
Step 6: Long-Term Maintenance
A thriving reef tank requires ongoing care. Weekly water changes, filter cleaning, and testing are vital to keep nutrients under control. Reef tank automation systems, connected through a reef tank app, make monitoring easier and provide alerts for parameter swings. Proper reef tank lighting schedules encourage coral growth, while dosing ensures stability of calcium, alkalinity, and magnesium.
However, even with automation, nothing replaces careful observation. Fish behavior, coral coloration, and water clarity should be checked regularly.
Conclusion – Reef Tank Setup
Building a reef aquarium is a journey that requires patience, knowledge, and dedication. When done correctly, your saltwater aquarium will become a living masterpiece, full of vibrant corals and marine life. By following these reef tank setup steps and maintaining reef tank stability, you’ll enjoy the beauty of the ocean right at home.